


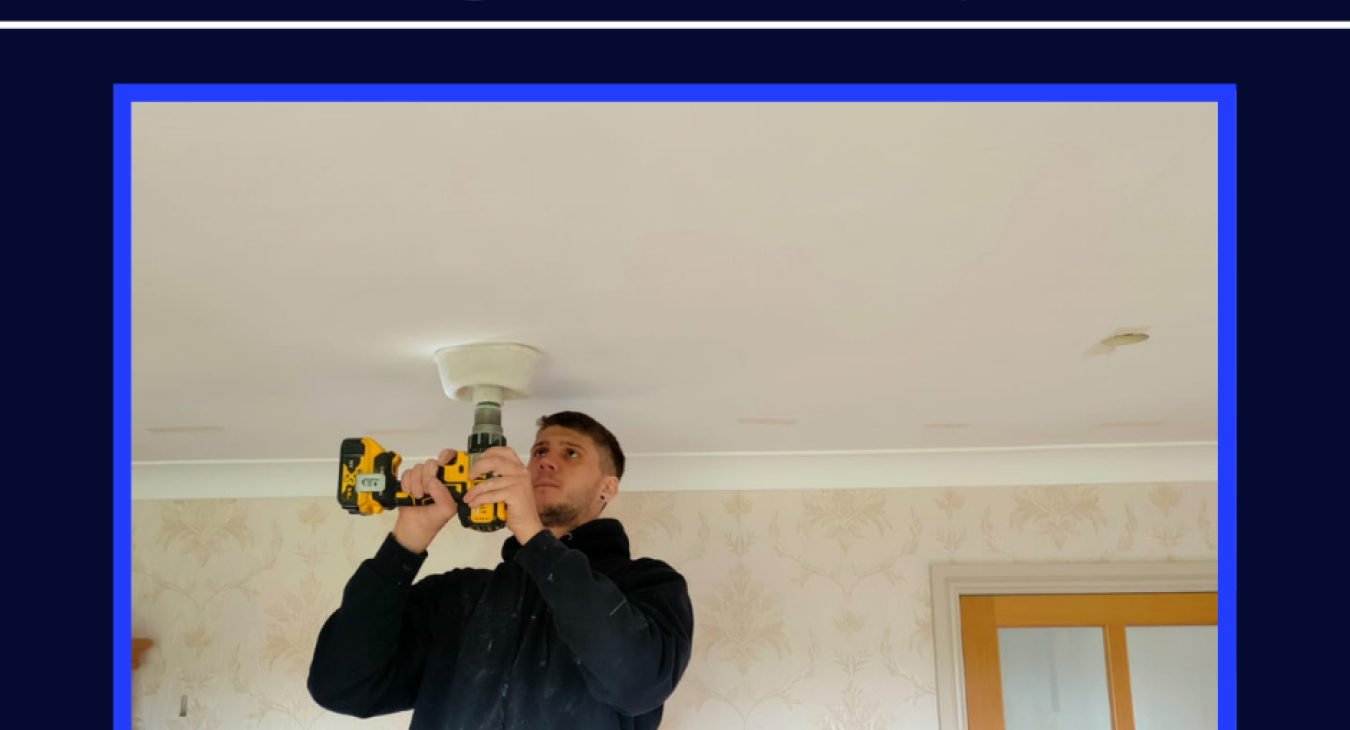
Excellent service as usual !!
We appreciate your continued trust and support. I wanted to personally update you on some important changes happening within our company.
At Hector's Electrics, we’ve always been dedicated to delivering exceptional customer service, especially in the growing field of renewable energy. Over the years, we've had the pleasure of helping many of our customers adopt the latest renewable technologies, from solar panels to EV chargers. This journey has inspired us to focus more closely on the renewables side of our business.
To reflect this shift, our company has been renamed MYE Renewables Ltd (Make Your Energy). This new name highlights our commitment to providing expert services in renewable energy. While we won’t be taking on new general electrical projects going forward, rest assured that our existing customers can still rely on us for any urgent needs.
Additionally, if you’re interested in solar panels, battery storage, or EV chargers, we’d be more than happy to assist you with our expert advice and services.
Keep an eye out for our new website, which will be launching soon—we're excited to share all the innovative solutions we have in store for you!
Thank you for being a part of our journey. We look forward to continuing to power your future with clean, sustainable energy.